Lecturer 5 & Chapter 6 & 7: Working with
Layers and Layer Styles
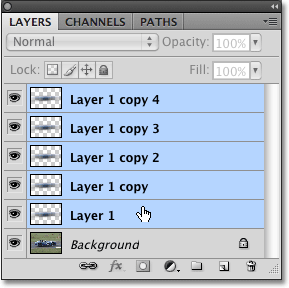
Firstly, i learned recognize elements of the Layers palette, such as new layer an option to create a layer, delete layer an option to delete a layer, adjustment layer, layer mask an option to protect layer,layer effect an option to add special effect to the layer, text layer an option to write a text on an image, layer opacity an option to reduce the color range of an image, link layers an option to connect two or more layers as one, layer visibility an option to hide or display a layer, blending mode an option to add different style to an image, lock: transparency, pixels, and position
Secondly, i learned how to identify and explain 5 different types of layers, which are normal layer that are added on a current layer, adjustment layer that are use to modify an image without affecting the original pixels, layer mask that are used to protect a layer, shape layer that contain vector shape, and type layer that contain text element.
Thirdly, i learned how to merge and flatten layers, we merge two or more layers in other to make them as one.
While flattening layers merge all layers in a document with the purpose of optimizing/maximizing the file size. merge layers command will merge the link layers in the image.
Finally, i learned how to apply layer style onto layers will add special effect to and image. Several options are available for different layers, like bevel & emboss, stroke, inner shadow, drop shadow, inner glow, outer glow, gradient overlay, color overlay, pattern overlay, and satin.


 Filter Sub menu
 Filter gallery menu


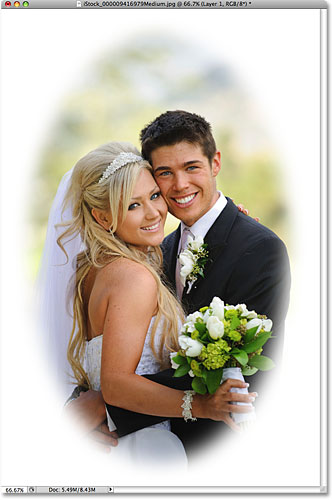


 Feathering


 . www
. www How magic eraser works